Why Omni-channel?
Enthusiastic customers investing in this tool. By giving the proper configuration we make life easier for our workers and prove to businesses that omnichannel is a cost-effective investment. Omni-Channel is a customizable and flexible feature that you can declaratively configure in Salesforce. No need to write code.
Managing multiple channels can be very difficult. Especially if you use different platforms to communicate with your customers. Additionally, mapping a customer's journey and gathering useful insights from multiple platforms becomes difficult and requires manual intervention.
A true omnichannel customer service center allows customers to seamlessly connect with support agents across multiple channels. At the same time, support agents have instant access to a complete picture of the person being supported. Without directing customers around the house and solving problems quickly.
Guide to setup Omni-Channel in Salesforce
This post walks you through the steps to set up Omni-Channel.
Step 1: Enable Omni-Channel
Enable Omni-Channel by navigating to the Setup menu in Salesforce.
Set up >> Quick find box >> Omni channel setting >> Enable >> Save.

Step 2: Create Service Channels
Set up >> Quick find box >> Omni channel >> service channels >> New >> Save
Name your Service Channel and choose its corresponding object. If you’re using a custom object and would like to route those records via Omni-Channel, you can also set up a Service Channel for it here.

Step 3: Create Omni-Channel Presence Statuses
Set up >> Quick find box >> Omni Channel >> Presence Status >> New >> Save
Name your Service Channel and choose its corresponding object. If you’re using a custom object and would like to route those records via Omni-Channel, you can also set up a Service Channel for it here.
Step 4: Create the Presence Configuration
Set up >> Quick find box >> Omni channel >> Presence Configuration >> New >> Save
Presence configuration determines how much work agents can take on and what omnichannel behaviors they can access while helping customers. Additionally, you can specify how agents interact with the work assigned to them.
You can assign individual agents or entire profiles to presence configurations. Note that each agent can only be assigned to one configuration of her.
Step 5: Create the Routing Configurations
Set up >> Quick find box >> Omni channel >> Routing Configuration >> New >> Save
The routing model determines how work items are evenly distributed among agents and acts as a tiebreaker when two or more agents are eligible to take on the same work item. If you choose “Least Active” as your routing model, the agent with the fewest open work items will be the lucky winner. Selecting the “Most Available” routing model directs new work to agents with the greatest difference between the existing capacity and the work item capacity that the agent can handle (determined by the assigned capacity in the presence configuration). routed. they're really working on it.
Step 6: Assign the Routing Configurations to the Queue
Set up >> Quick find box >> Queue >> New >> Save
Give the queue a name and assign a routing configuration. In the Routing Configurations section, select the highest priority chat routing configuration, and in the Supported Objects section select Live Chat Transcripts. You can add agents to the queue now or edit the queue later. You have the option to add agents individually, by role, or by a group.
Step 7: Permission set setup for Agent
Set up >> Profile >> Click on Profile Name >> Edit Click edit on Enabled Service Presence Status Access.>> Select the Presence Status to be included in the Profile >> Save.
Step 8: Add Omni-Channel to The Utility Bar in The Lightning App
Set up >> Quick find box >> App >> App Manager >> Service Console >> Edit >> Utility Item (Desktop Only) >> Omni channel >> Save.
Step 9: The Routing of Chat Buttons to Omni-Channel
Set up >> Quick find box >> chat button and invitation >> Edit Routing type into Omni channel >> Add queue name >> Save.
You've set up Salesforce Omni-Channel! As a final reminder, make sure your agents have the Live Agent User checkbox selected on their user accounts.
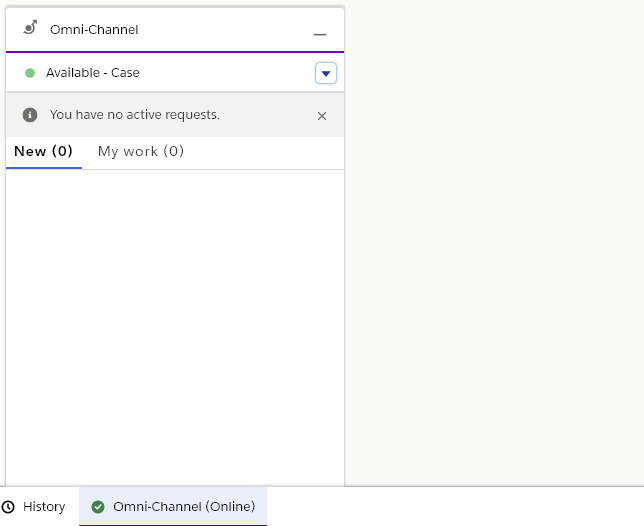
Omni-Channel Appearance for agents
Omni-Channel is a widget in the bottom footer of the console that remains inactive until a work item is posted. When a work item arrives, the Omni-Channel widget automatically pops up to notify agents of the new record. Depending on your settings, you may or may not hear a tone and may or may not reject the request.
How does Omni-Channel work with Live Agent?
Salesforce made Omni-Channel and Live Agent integration super easy. If you've already set up Live Agent, Salesforce automatically migrates those settings to your Omni-Channel setup, so you don't have to do anything. Once set up, agents access their Live Agent work items in the same place as cases.
We hope this gives you enough background on the omnichannel presence and routing to help you decide whether to enable this Service Cloud feature.


0 Comments